


Keo tản nhiệt là gì? Top 5 loại keo tản nhiệt tốt nhất 2026
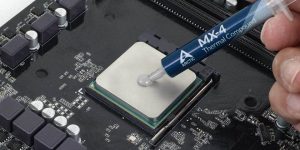
Keo tản nhiệt là gì và vì sao chỉ một lớp keo mỏng lại có thể ảnh hưởng trực tiếp đến nhiệt độ CPU, GPU,

 CPU
CPU
 RAM
RAM
 Màn Hình
 ROM
ROM

 CPU
RAM
Màn Hình
ROM
CPU
RAM
Màn Hình
ROM

 CPU
RAM
Màn Hình
ROM
CPU
RAM
Màn Hình
ROM
 CPU
RAM
Màn Hình
ROM
CPU
RAM
Màn Hình
ROM
 CPU
RAM
Màn Hình
ROM
CPU
RAM
Màn Hình
ROM
Keo tản nhiệt là gì và vì sao chỉ một lớp keo mỏng lại có thể ảnh hưởng trực tiếp đến nhiệt độ CPU, GPU,
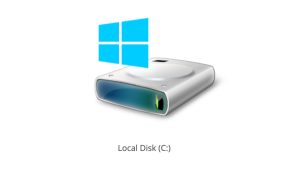
Máy bạn báo gần đầy bộ nhớ hay mỗi lần mở máy lại thấy ổ C đỏ rực, giật lag cả trình duyệt. Đó là
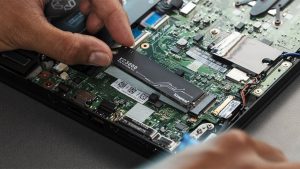
Laptop không nhận ổ cứng SSD trong BIOS có thể do ổ lỏng, sai chuẩn SATA/NVMe, BIOS chưa hỗ trợ, cài đặt SATA mode hoặc SSD hỏng. Bài viết hướng dẫn cách kiểm tra theo thứ tự an toàn.
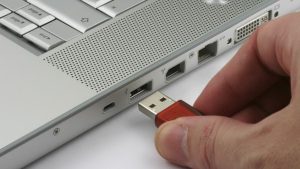
Laptop không nhận USB có thể do thiết bị USB, cổng USB, driver, Windows hoặc lỗi phần cứng. Bài viết hướng dẫn cách kiểm tra theo thứ tự an toàn để tránh mất dữ liệu.